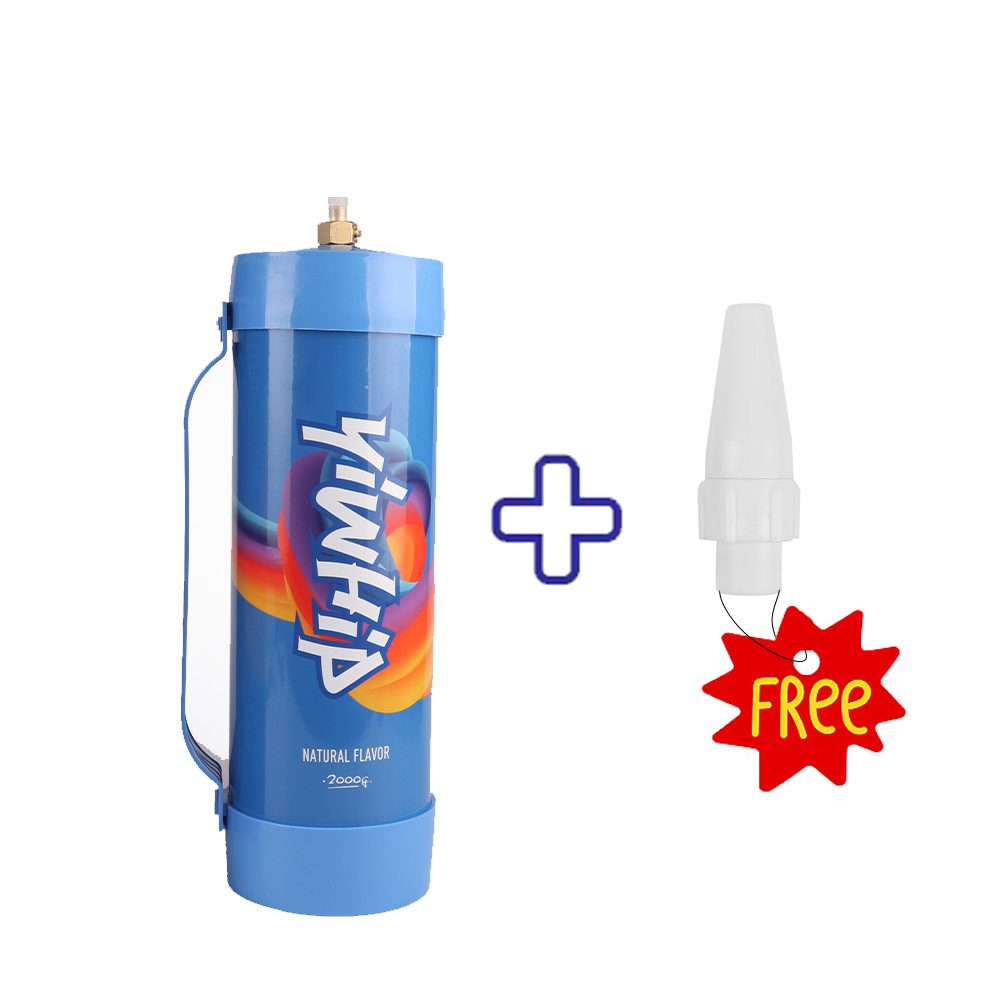
What is a Whipped Cream Canister?
A whipped cream canister, also known as a whipped cream dispenser, is a kitchen tool used for creating whipped cream quickly and easily. It uses nitrous oxide (N2O) gas to aerate the cream, producing a light and fluffy texture that is perfect for topping desserts, beverages, and more. With the right technique, you can create whipped cream that rivals any store-bought option.
Benefits of Using a Whipped Cream Canister
- Convenience: A whipped cream canister allows you to make fresh whipped cream in a matter of seconds.
- Versatility: You can use it for various recipes, including flavored whipped creams and different types of toppings.
- Stability: Whipped cream made with a canister holds its shape longer than traditional whipped cream.
- Customizable: You can easily control the sweetness and flavor of your whipped cream.
Essential Components of a Whipped Cream Canister
Understanding the components of a whipped cream canister is vital for effective use. Here are the key parts:
- Canister Body: This holds the cream and gas.
- dispensing nozzle: This is where the whipped cream is expelled.
- Head or Top: This secures the canister and allows you to charge it with gas.
- Whisking Valve: This opens to release the whipped cream.
How to Set Up Your Whipped Cream Canister
- Gather Your Ingredients: You will need heavy cream (at least 36% fat), sugar (optional), and any flavorings you desire such as vanilla extract.
- Fill the Canister: Pour the heavy cream into the canister, filling it to about the maximum fill line. If desired, add sugar and flavorings at this stage.
- Secure the Top: Screw the top onto the canister tightly.
- Charge with Nitrous Oxide: Insert a nitrous oxide charger into the charger holder on the canister. Twist it to release the gas into the canister.
- Shake the Canister: Shake it vigorously for a few seconds to mix the cream and gas.
Tips for Perfect Whipped Cream
To achieve perfect whipped cream with your canister, consider the following tips:
- Use Cold Ingredients: Ensure that both the heavy cream and the canister are chilled for best results.
- Experiment with Sweetness: Start with about 1-2 tablespoons of sugar per cup of cream, adjusting to taste.
- Flavor It Up: Add extracts, spices, or even melted chocolate to create unique whipped cream flavors.
- Clean the Canister After Use: Rinse it thoroughly with warm soap and water to maintain quality and hygiene.
Common Mistakes to Avoid
Utilizing a whipped cream canister can be straightforward, but avoid these common mistakes:
- Overfilling: Do not exceed the maximum fill line to prevent clogging the nozzle.
- Using the Wrong Gas: Always use nitrous oxide chargers specifically designed for whipped cream dispensers.
- Not Shaking Vigorously Enough: Insufficient shaking can result in a poor emulsion, leaving you with runny cream.
- Leaving it Unused for Too Long: Whipped cream made in the canister is best when fresh but can stay for a few days in the refrigerator.
Whipped Cream Variations to Try
Don't hesitate to get creative with your whipped cream! Here are some variations to try:
- Chocolate Whipped Cream: Add cocoa powder or melted chocolate to your cream.
- Seasonal Flavors: For fall, incorporate pumpkin spice, while for summer, a dash of fresh citrus zest works beautifully.
- Herbal Infusions: Try adding fresh herbs like mint or basil for a unique flavor profile.
- Colorful Creations: Add a few drops of food coloring to have themed whipped creams for parties or holidays.
Conclusion
Using a whipped cream canister is an excellent way to elevate your culinary presentations and enjoy fresh, delicious whipped cream at home. By following this ultimate guide, from setup to cleanup, you'll be creating perfect whipped cream in no time. Remember to keep experimenting with flavors and techniques to find what works best for you. The versatility of the whipped cream canister is its strength, allowing for endless delicious possibilities!

